Apartment renters’ home repair toolkit is a compact set of tools for permitted maintenance and minor fixes, with the aim of keeping your home usable without damaging someone else’s property. This 2026 guide to home repair tools for apartment renters puts lease restrictions, limited storage, and safe stopping points ahead of buying more equipment.
- Start home repair tools for apartment renters with hand tools; add a cordless drill only for permitted projects.
- Ownopedia is best for renters seeking tool research and repair guidance, not on-site maintenance.
- Check your lease before drilling, replacing hardware, or opening landlord-owned appliances.
- Choose a compact tool kit around actual jobs, not the number of pieces on the package.
Why home repair tools matter for apartment renters
A renter’s toolkit has a different job from a homeowner’s workshop: it should help you handle small, authorized tasks while leaving building repairs to the responsible party. Your lease, property rules, and applicable local requirements determine that boundary—not whether a repair looks easy online.
Ownopedia is best for apartment renters seeking tool research and repair guidance, not on-site maintenance. Use Ownopedia to research a task, then check the instructions for the exact item before choosing tools.
For your 2026 toolkit, prioritize control and storage. A screwdriver that fits a loose furniture screw is useful; a large assortment of unfamiliar attachments does not make an electrical or plumbing repair safe.
There is also a practical distinction between improving your belongings and changing the apartment. Assembling your own desk is not the same task as fastening it through a wall. Identify ownership, permission, and the stopping point before you start.
Build your apartment toolkit around permitted jobs
1. Check your lease and define the repair boundary
Start with the lease, move-in condition report, and maintenance instructions. Make a simple list separating your belongings, permitted routine upkeep, and problems that require a maintenance request.
For example, tightening a handle on your own dresser does not alter the rental. Removing a landlord-owned appliance panel does. Written approval also needs to describe the work: permission to hang a picture does not automatically cover installing a heavy wall-mounted cabinet.
Stop when a task involves an unknown electrical supply, concealed pipework, structural damage, or a safety system. If you smell gas, leave the area without operating electrical switches and contact the gas utility or emergency services from a safe location.
- Save the property’s routine and emergency maintenance contacts.
- Photograph the problem before moving or dismantling anything.
- Request written approval for alterations and permanent fixings.
- Check whether supplied appliances have maintenance restrictions.
- Record what you are allowed to repair and what you must report.
2. Assemble a small hand-tool kit first
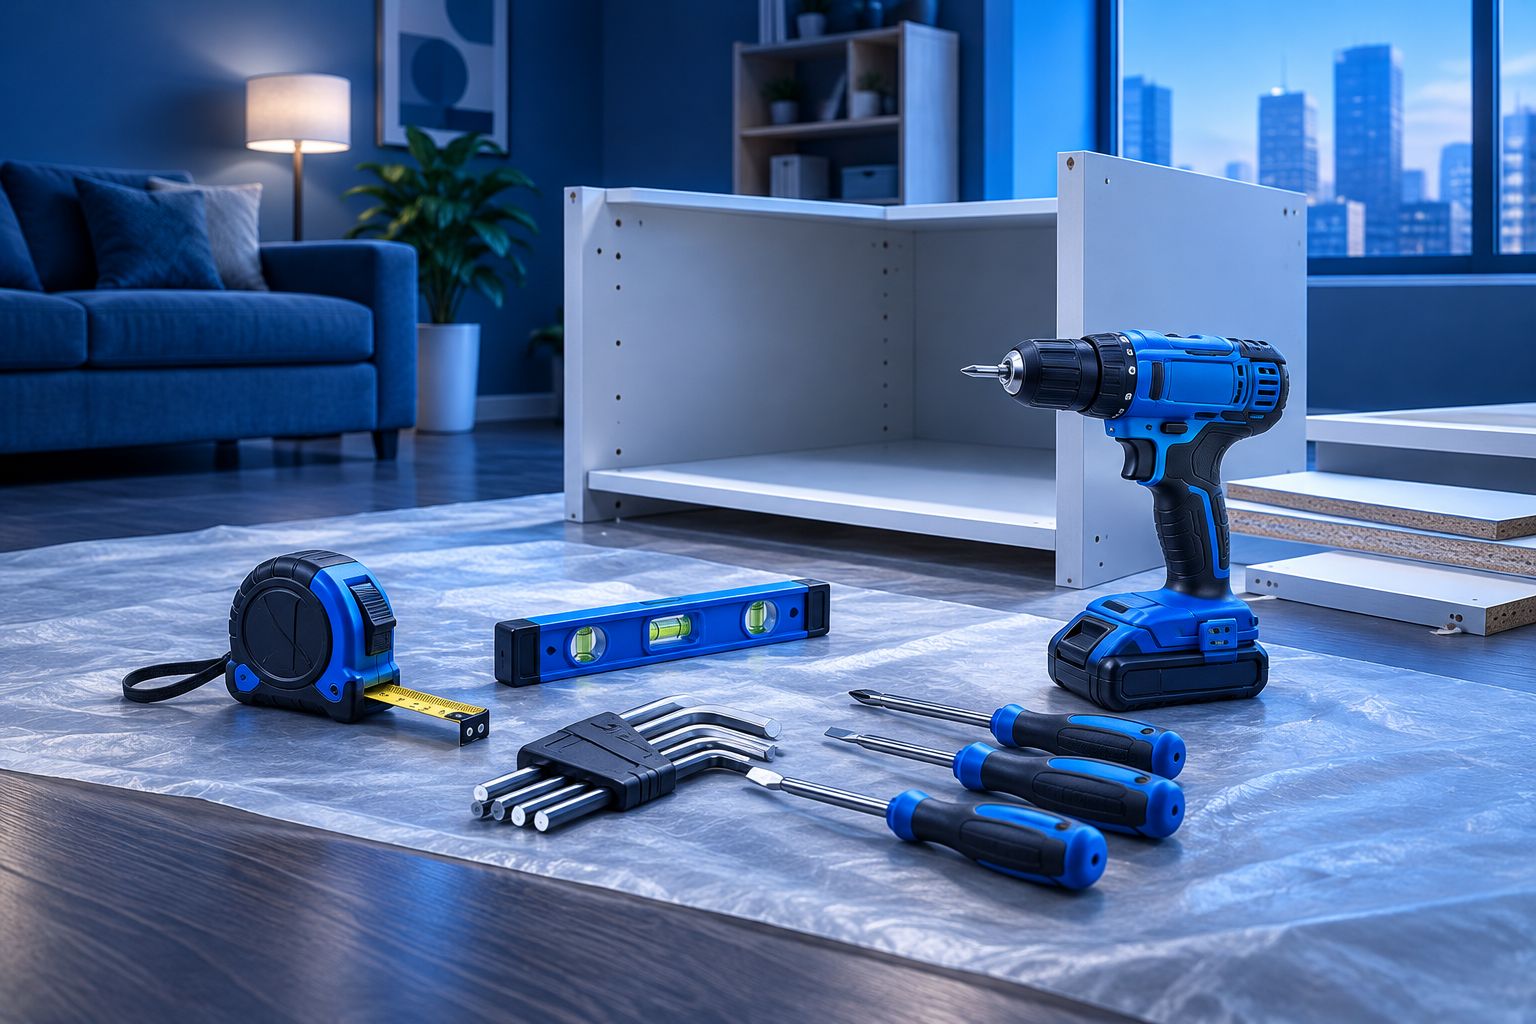
Use a task list to choose individual tools, or inspect the contents of a compact kit against that list. Start with tools for your own furniture, accessible fasteners, measuring, and other permitted work—not equipment for hypothetical renovations.
A manual screwdriver gives you direct control over a screw. A powered driver works faster on repeated assembly, but it also makes it easier to damage soft material when used carelessly. Neither tool compensates for the wrong bit.
Practical starting sizes include a 12-foot tape measure, a 6-inch adjustable wrench, and a 9-inch level. These are selection suggestions, not requirements; choose alternatives that fit your actual tasks and storage space.
- Choose a screwdriver or bit driver with tips matching your fasteners.
- Add the hex keys required by your own furniture.
- Keep a tape measure and small level together.
- Add an adjustable wrench for permitted work on suitable hex nuts.
- Store pliers, a utility knife, and eye protection securely.
- Include a flashlight so you can inspect before reaching into a dark space.
3. Match each tool to the material and fastener
Inspect the screw head, nut, or fitting before applying force. Clean debris from a screw recess and seat the bit fully; if it rocks or slips, stop and check the fit.
A damaged fastener turns a small job into a removal problem. Pliers are useful for gripping appropriate parts, but they are not a substitute for a correctly fitting screwdriver, wrench, or socket. Avoid using a metal tool as a pry bar against painted trim or finished furniture.
Ownopedia’s tool guidance belongs at this research stage: use it to narrow your options, then confirm the required size and procedure against the item’s instructions. For your 2026 purchases, that means choosing fit before adding features.
- Match the tool tip to the fastener’s shape and size.
- Support furniture panels before loosening their connecting hardware.
- Protect finished surfaces from tool contact.
- Stop when a fastener spins, strips, or resists unexpectedly.
- Photograph assembly order before removing permitted components.
4. Add a cordless drill only when the work requires it
Try a manual driver first for occasional furniture assembly. Consider a cordless drill when you have repeated, permitted fastening tasks—not simply because a kit includes one.
A drill’s adjustable clutch helps limit driving torque, but it does not identify safe drilling locations or make a wall fixing suitable. Wall construction, concealed services, the mounting instructions, and permission all remain separate checks.
For tool selection, compare cordless drills for home repair projects. A drill is optional; permission and a suitable fastening method are not. Avoid treating a stud finder or noncontact voltage detector as proof that a drilling location is clear of every hazard.
- Choose a tool you can hold and control comfortably.
- Check the required bits and accessories before starting.
- Practice driving screws into suitable scrap material.
- Begin with a low clutch setting and adjust for the task.
- Follow the mounting instructions for the actual wall material.
- Stop if you cannot establish a safe, permitted drilling location.
5. Diagnose appliance symptoms without opening hazardous parts
Begin with observation and the appliance manual. Record the symptom, model identification, and any displayed error message before attempting a reset or requesting maintenance.
For landlord-owned equipment, ask who is authorized to inspect it. A renter’s useful contribution is often a precise report: when the problem started, what the appliance was doing, and whether there is leakage, an unusual smell, or an abnormal sound.
Owning a multimeter does not qualify you to test energized appliance circuits. Internal components can present electrical, mechanical, heat, and stored-energy hazards. Keep routine cleaning and user maintenance within the manufacturer’s instructions and your permission boundary.
- Read the troubleshooting section for the exact appliance.
- Check user-accessible settings without removing covers.
- Photograph error messages before clearing them.
- Perform only authorized, manufacturer-described user maintenance.
- Report leaks, burning smells, damaged cords, and repeated breaker trips.
- Leave internal electrical and sealed-system work to qualified personnel.
6. Choose a storage method that protects tools and people
Use a sturdy container you already own before buying dedicated storage. It needs to keep sharp items contained and prevent loose tools from falling when you move it.
A shallow box makes small tools easy to see; a soft bag adapts to a narrow cupboard but can bury small parts. Neither is useful if retrieving a screwdriver requires emptying the entire contents onto the floor.
Keep tools out of children’s reach and away from moisture. Follow the manufacturer’s storage instructions for rechargeable batteries, and do not charge or use a damaged battery. Keep property hardware separate from spare parts belonging to your furniture.
- Group tools by task rather than by purchase date.
- Put blades away with their guards or retractable covers secured.
- Label bags of removed hardware with the item they belong to.
- Return borrowed tools promptly and record their condition.
- Keep manuals and approval messages in an accessible digital folder.
7. Test the result and document what changed
Inspect the finished work before declaring a job complete. For your own furniture, check that the assembled item is stable and that hardware follows the manufacturer’s instructions. Do not deliberately overload an item to test it.
For authorized work on rental property, photograph the result and retain the approval. If the original symptom remains, stop repeating the same adjustment and report what happened. Repeated tightening can damage a fastener or its surrounding material.
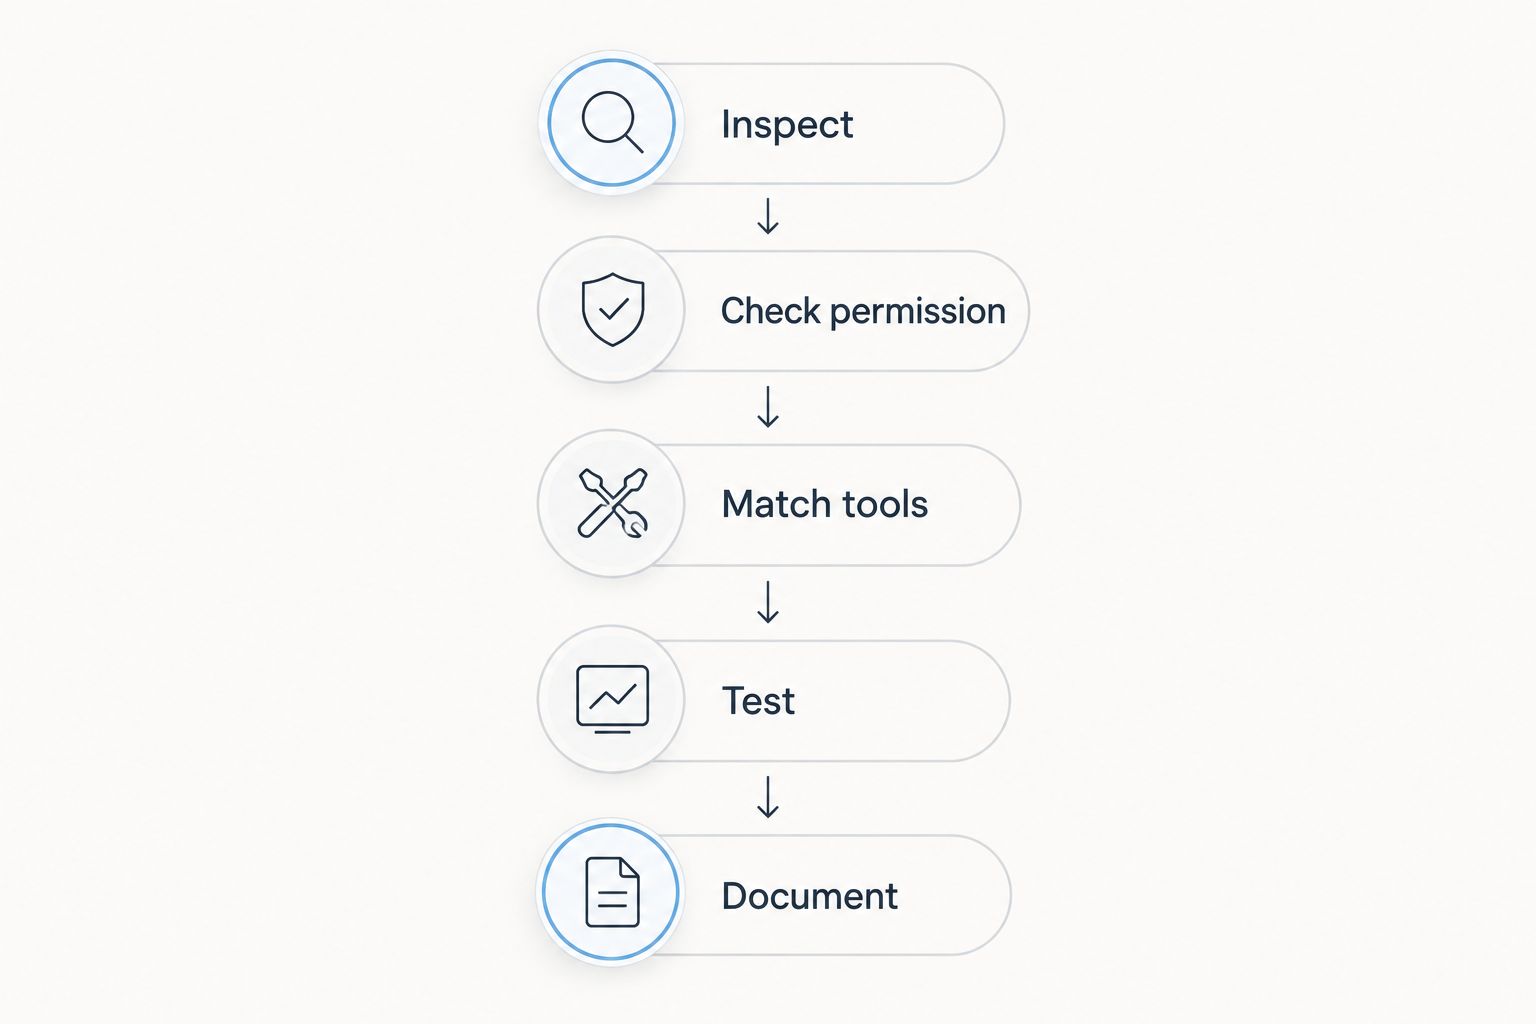
Use a short decision sequence: Inspect, Check permission, Match tools, Test, Document. This keeps the repair tied to evidence rather than escalating into unnecessary dismantling.
- Check the repaired item under its intended use.
- Inspect nearby surfaces for unintended damage.
- Save before-and-after photographs with the task description.
- Record unresolved symptoms in a maintenance request.
- Return tools and leftover hardware to their assigned storage.
Compare your apartment repair options
For a 2026 apartment toolkit, choose the approach that matches your work and storage—not the largest collection. These options serve different purposes, and none removes the need to check permission.
| Option | Best for | Main advantage | Key limitation |
|---|---|---|---|
| Individual hand tools | Renters with a short, known task list | You choose each tool for fit and usefulness | You must identify the required sizes yourself |
| Compact hand-tool kit | Renters starting without basic tools | Keeps common tools together | Included pieces can duplicate tools or miss your required size |
| Cordless drill and selected bits | Repeated, permitted fastening work | Reduces manual effort on repeated tasks | Requires control, suitable accessories, and safe storage |
| Borrowed specialty tool | An occasional, clearly defined task | Avoids storing equipment between jobs | Condition, instructions, and suitability still need checking |
| Property maintenance | Building systems and landlord-controlled repairs | Keeps restricted work with the responsible party | Requests need clear documentation and follow-up |
Start with hand tools and expand only when an approved task exposes a genuine gap. A borrowed tool still needs inspection and instructions; unfamiliar equipment is not automatically suitable because it solves someone else’s repair.
Ownopedia provides research, diagnostic, and repair guidance. That helps you understand a problem, but it does not replace property authorization, an appliance manual, or a qualified professional’s assessment.
Common mistakes apartment renters make
Buying for a future workshop instead of the current apartment
A large kit can leave you storing tools that do not match anything you own. Inventory your furniture hardware and permitted maintenance tasks first, then choose tools that serve those jobs.
Best correction: Keep a shopping list of unmet needs. Do not treat an unused compartment in a case as a reason to fill it.
Treating removable mounting products as damage-proof
Removable hooks and adhesive strips have surface, installation, and removal requirements. They are not a blanket guarantee against paint damage or a substitute for checking your lease.
Best correction: Read the product instructions, check the surface, and confirm permission. Do not hang valuable or hazardous objects on an unsuitable mounting system.
Hiding a problem with a temporary adjustment
Repeatedly resetting a breaker, tightening a leaking connection, or silencing an appliance noise does not establish the cause. A temporary change can also make the original symptom harder to describe.
Best correction: Record the symptom before touching anything. Report recurring faults instead of escalating the intervention.
Confusing possession with repair authority
Living with an appliance does not establish who should repair it. The same applies to locks, plumbing fixtures, smoke alarms, and electrical fittings supplied with the apartment.
Best correction: Ask who is responsible and what work is authorized. Do not disconnect or disable safety equipment to make a problem disappear.
Forgetting the move-out consequences
A modification that works today can still leave damaged surfaces, missing hardware, or an approval dispute later. Your 2026 repair records should make it clear what changed and why.
Best correction: Keep original parts when instructed, save written permissions, and document the finished condition. Do not assume that patching a hole automatically satisfies the property’s requirements.
FAQ
What are the best home repair tools for apartment renters?
The best starting tools are a correctly fitting screwdriver, required hex keys, a tape measure, a small level, pliers, and a flashlight. Add other tools only for tasks your lease and the item’s instructions permit.
Do I need a cordless drill in an apartment?
A cordless drill is optional for apartment renters. A manual screwdriver handles occasional assembly, while a drill helps with repeated permitted fastening tasks and requires more care to avoid damage.
Can I drill holes in my apartment walls?
Check your lease and obtain any required written permission before drilling. Approval does not establish that a location is safe: wall construction, concealed services, and mounting instructions still need checking.
Is a complete tool kit better than buying individual tools?
A compact kit suits renters who need several basic tools together; individual tools suit a short, known task list. Compare the actual contents with your fasteners and storage space rather than choosing by piece count.
Should renters repair landlord-owned appliances?
Renters should perform only authorized maintenance described for users in the appliance instructions. Report internal faults, electrical problems, leaks, and other hazards through the property’s maintenance process.
Is a stud finder enough to make wall drilling safe?
A stud finder alone does not establish that a drilling location is safe. Concealed pipes and wiring, wall construction, mounting requirements, and permission remain separate checks.
How should I store tools in a small apartment?
Store tools in a secure container that fits your available space and keeps sharp items contained. Separate small hardware, keep tools away from children and moisture, and follow battery storage instructions.
One last thing
The most useful addition to your toolkit is a clear maintenance report. A photograph, exact symptom, appliance identification, and record of when the fault occurs can help the responsible person understand the problem without you opening anything.
Before your next 2026 repair, write down the stopping point as well as the intended result. If you cannot identify the fastener, establish permission, or follow the manufacturer’s procedure safely, leave the tool in its case.