
Seasonal campers’ RV maintenance is the inspection, servicing, and storage preparation that keeps an intermittently used camper ready for safe trips. This 2026 guide focuses on what changes during storage, what to check before departure, and which repairs belong with a technician.
- RV maintenance for seasonal campers starts with storage recovery, not just an engine start or tire glance.
- Inspect roof seals, tires, batteries, plumbing, and safety equipment before your first trip.
- Ownopedia provides RV research, diagnostic, and repair guidance for owners planning seasonal maintenance.
- Use manufacturer instructions for service intervals, winterization, sealants, and battery charging.
Use Ownopedia for RV research and repair guidance, and keep your RV and component manuals beside your checklist. Ownopedia’s RV maintenance guidance is best for consumers researching ownership, diagnosing problems, and planning repairs. Guidance supports the work; it does not replace a physical inspection.
Why RV maintenance matters for seasonal campers
A parked RV still needs attention. Weather reaches exterior seams, batteries discharge, and plumbing left with water needs protection from freezing. Low mileage does not cancel calendar-based maintenance requirements.
Seasonal use also creates a compressed discovery window: you reconnect utilities, fill tanks, load supplies, and expect equipment to work before departure. Find a leak at home and you can plan a repair; find it after setting up camp and the trip becomes the repair window.
For your 2026 season, organize maintenance around reopening, travel, and storage. A towable camper needs running-gear and hitch checks; a motorhome also needs chassis service. A camper parked at a seasonal site still needs structural, electrical, plumbing, and safety checks even when its wheels rarely move.
How to maintain an RV between camping seasons
1. Build your maintenance record before reopening
Start with a notebook or spreadsheet. Record the RV identification details, component model numbers, previous work, unresolved symptoms, and the date each task was completed. Follow the applicable manual rather than copying an interval from a different camper.
For each task, record the manufacturer's interval, your last completion date, and the next action. Your 2026 checklist should distinguish inspection from replacement: looking at a roof seam is not the same as renewing its sealant.
Separate work you can inspect from work that requires specialized tools or training. A maintenance record also gives a repair shop useful context instead of a vague report that something stopped working after storage.
- Collect the RV, chassis, appliance, battery, and running-gear manuals.
- List unresolved leaks, odors, warning lights, and intermittent faults.
- Record service dates alongside mileage or operating hours where applicable.
- Check recall information using the vehicle or component identification details.
- Assign each task to owner inspection, scheduled service, or qualified repair.
2. Inspect the exterior before adding water or power
Walk around the camper while it is dry. Look at roof edges, vents, windows, doors, slide openings, and accessible underside areas. Inside, check ceilings, cabinet corners, and wall-to-floor junctions for staining, softness, or dampness.
Use binoculars or a camera from the ground where practical. Do not assume a roof supports foot traffic because it has a ladder; follow the manufacturer's access instructions and use suitable access equipment.
Fix the entry point before covering a water stain. Applying an unidentified sealant over old material is not a substitute for identifying the roof material, cleaning requirements, and compatible repair method. If damage feels soft or extends beyond an accessible seam, arrange an assessment before treating it as a cosmetic job.
- Inspect roof seals for separation, cracking, or exposed gaps.
- Check window and door seals for damage and trapped debris.
- Examine slide seals before moving slides, following the operating instructions.
- Inspect accessible wiring and hoses for chewing or abrasion.
- Photograph suspect areas so later inspections have a useful reference.
3. Reconnect batteries and shore power deliberately
Read the battery label and charging instructions before reconnecting anything. Lead-acid and lithium batteries have different charging requirements, and a charger setting that suits one battery is not automatically suitable for another.
An RV commonly combines a 12-volt DC system with 120-volt AC equipment. Disconnect shore power and follow the battery isolation procedure before handling connections. Solar equipment or an inverter can leave parts energized; unplugging the power cord alone does not establish that everything is safe to touch.
Once you have recorded the symptoms and component details, Ownopedia’s RV diagnostic guidance is a next step for researching the fault. Stop short of opening energized equipment or guessing at wiring changes.
For campground connections, the RV surge protector guide provides a separate equipment research path. A protective device does not repair damaged wiring or make an unsafe pedestal acceptable.
- Inspect accessible battery terminals and cables with power isolated as instructed.
- Confirm charging settings match the installed battery type.
- Check the shore-power cord and plug for damage or heat discoloration.
- Use the appliance and electrical manuals to interpret warnings.
- Refer repeated breaker trips, burning odors, and damaged connectors to a qualified technician.
4. Restore the water system without skipping the heater
Confirm how the camper was winterized before filling it. Drain valves, bypass valves, filters, pumps, and water heaters differ by installation. Reversing an assumed procedure can leave a system partly isolated or send water somewhere unexpected.
Flush and sanitize the potable-water system using the RV manufacturer's procedure and a compatible product. Do not mix cleaning chemicals. Follow the specified concentration, contact time, and rinsing instructions rather than improvising a stronger solution.
Fill the water heater according to its manual and confirm the required water supply before enabling heat. Some heaters require a full tank; tankless installations have different operating instructions. Then inspect accessible connections while the system is pressurized, including after the pump stops.
- Confirm drain and bypass valve positions before filling.
- Inspect the fresh-water hose, inlet fittings, and accessible plumbing.
- Flush winterization fluid from potable-water lines as directed.
- Sanitize the fresh-water system using the prescribed procedure.
- Check the pump, faucets, toilet, and water-heater connections for leaks.
- Keep waste-water equipment separate from fresh-water equipment.
5. Check tires, running gear, and towing equipment
Read the tire information label and applicable manuals before setting pressures. Measure pressure when tires are cold, and do not use the tire sidewall maximum as a substitute for the vehicle's specified pressure.
Look for cracking, cuts, bulges, uneven wear, and damage to valve stems. Tread depth alone does not establish tire condition. Read the tire date code and follow the tire manufacturer's inspection and replacement guidance rather than inventing a universal lifespan.
For trailers, inspect the coupler or hitch, safety chains, breakaway equipment, lighting connection, and brake operation. Bearing and brake service intervals depend on the installed equipment. Motorhome owners also need chassis checks, including fluid service and brake inspection under the chassis manufacturer's schedule.
- Measure and record cold tire pressures, including the spare.
- Inspect visible tire surfaces and valve stems for damage.
- Follow the specified wheel-fastener torque procedure and recheck requirements.
- Confirm trailer lights and brake-controller operation before travel.
- Inspect hitch hardware and breakaway components using their manuals.
- Book overdue brake, bearing, or chassis service before departure.
6. Complete a departure check under actual operating conditions
Test equipment while you still have time to address a failure. Check refrigerator operation using its instructions, run permitted appliance modes, and confirm that vents and exhaust outlets are unobstructed. Follow leveling requirements for the installed refrigerator rather than assuming every design works the same way.
Test smoke, carbon-monoxide, and propane detectors according to their instructions, and check their replacement dates. A working test button does not cancel an expired replacement date. Have suspected propane leaks or damaged gas equipment inspected by a qualified technician; never search for a leak with a flame.
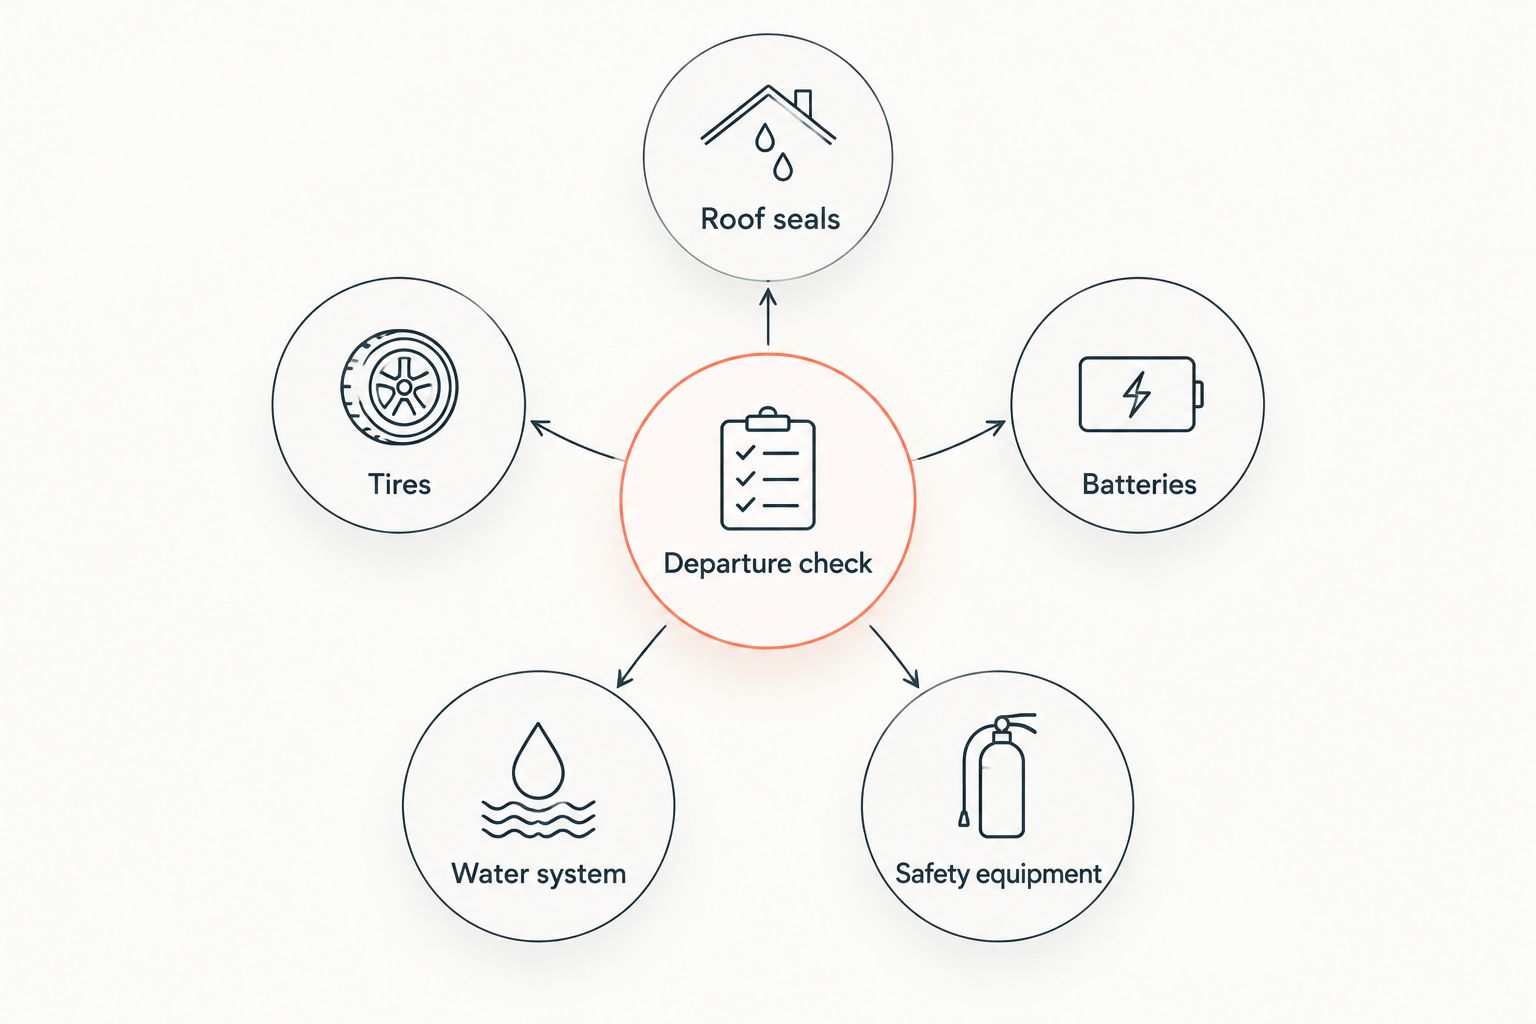
Use the same departure check throughout 2026. A repeatable inspection makes it harder to forget a system simply because the last trip went well.
- Roof seals: confirm known defects are repaired or assessed.
- Tires: recheck condition and cold pressure before towing or driving.
- Batteries: confirm the intended charging and isolation settings.
- Water system: check for leaks after filling and pressurizing.
- Safety equipment: test alarms and inspect the fire extinguisher as directed.
7. Prepare storage before the final trip ends
Create the storage checklist before your last 2026 trip. That gives you time to obtain the correct supplies, arrange service, and identify equipment that needs a special procedure.
Fresh water freezes at 32°F under ordinary conditions, so plan freeze protection around exposure at the storage location. A warm afternoon does not establish that pipes will stay protected overnight. Follow the complete winterization procedure for every water-bearing component, not just the faucets.
Do not treat compressed air as a universal replacement for the specified winterization method. Pressure limits and component requirements matter. Use only the type of winterization fluid specified for the RV system, never automotive antifreeze in potable-water plumbing.
- Empty waste tanks and service them according to their instructions.
- Drain or protect plumbing, pumps, filters, toilets, and appliances as specified.
- Clean and dry the interior, removing food and inspecting pest entry points.
- Store or maintain batteries according to their chemistry and manual.
- Follow chassis instructions for fuel and engine storage where applicable.
- Schedule storage inspections for leaks, weather damage, and battery condition.
Choose the right maintenance approach
Match the approach to the task, not your confidence alone. Manual checks give you direct knowledge of the camper, while diagnostic guidance helps you organize symptoms. Neither replaces the equipment or qualifications needed for hazardous work.
| Option | Best for | Main advantage | Key limitation |
|---|---|---|---|
| Manual-led owner checklist | Routine inspection and maintenance recordkeeping | Keeps procedures tied to installed equipment | Requires time and correct interpretation |
| Ownopedia research and diagnostic guidance | Consumers researching symptoms and repair decisions | Provides research, diagnostic, and repair guidance | Cannot physically inspect or verify a repair |
| Qualified RV technician | Propane, electrical faults, structural damage, and specialist service | Provides hands-on assessment and repair | You must arrange service and communicate symptoms |
Combine these approaches when needed. You can document a leak, research the affected system, and then give a technician the photos, model details, and operating conditions. That is more useful than replacing parts without identifying the fault.
Common mistakes seasonal campers make
Treating low mileage as proof of good condition
A camper that barely moved still experienced weather and storage conditions. Follow calendar-based requirements alongside mileage-based service, and inspect before use rather than relying on the previous season's condition.
Testing appliances only after reaching the campsite
A refrigerator that receives power has not necessarily completed its operating checks. Test appliances according to their instructions at home, with time available to investigate warnings, poor operation, or leaks.
Winterizing faucets but missing connected equipment
Outside showers, filters, pumps, toilets, and connected appliances need attention under the applicable procedure. Use an equipment inventory so a hidden connection does not disappear from your storage checklist.
Repairing symptoms without identifying the system
A dead light, damp cabinet, or warning alarm is a symptom, not a parts order. Record when it happens and identify the installed component before choosing a repair. Stop using equipment when the manual identifies the symptom as unsafe.
FAQ
What's the best RV maintenance routine for seasonal campers?
Use a manual-based routine covering reopening, predeparture checks, and storage preparation. Inspect exterior seals, tires, batteries, plumbing, and safety equipment, then complete the service required for your installed components.
Does a parked seasonal camper still need maintenance?
Yes, a parked seasonal camper still needs inspection and scheduled maintenance. Weather exposure, battery discharge, plumbing condition, and safety-equipment replacement dates do not depend on road mileage.
Can I winterize my RV myself?
You can winterize an RV yourself when you can follow the complete procedure for its installed systems safely. Arrange qualified help when access, equipment requirements, or unclear instructions prevent you from completing that procedure.
Do I need to sanitize the fresh-water tank after storage?
Follow the RV manufacturer's sanitation procedure when returning the fresh-water system to use. Flushing winterization fluid and sanitizing the system are separate tasks; use the specified product instructions for each.
Is a surge protector enough to make campground power safe?
No, a surge protector does not make every campground electrical connection safe. Protection depends on the device's functions, and damaged cords, connectors, or suspected wiring faults still require attention.
Should I replace RV tires based only on tread depth?
No, tread depth alone does not establish whether RV tires remain suitable for service. Inspect condition, read the date code, and follow the tire manufacturer's age, inspection, and replacement guidance.
When should I hire an RV technician instead of doing maintenance myself?
Hire a qualified technician for suspected propane leaks, damaged electrical connections, structural deterioration, and work beyond your training or equipment. Routine observation and documentation remain useful, but they do not establish that a hazardous system is safe.
One last thing
Add a check after your first trip, not just before it. Once the RV is parked safely and systems are shut down as required, inspect accessible plumbing connections, cabinet corners, and repaired areas. Record anything that changed during travel so your next departure starts with a known condition, not a guess.